Bulk Issue Virtual Cards using the Brex Pipedream Integration
Using Brex’s integration with Pipedream, you can perform many bulk actions. In this post, we’ll show you how to bulk create virtual cards for your employees. For example, you can use this integration to create one-time virtual cards to provide a stipend for your employees to set up their home office, or you can use this integration to create virtual cards for a WFH stipend where the card limit resets every month.
Pipedream is a low-code integration platform that Brex integrates with to enable various use cases including bulk creating users, setting monthly limits for users, and issuing virtual cards.
In this tutorial, we will walk through the steps to enable bulk issuing virtual cards in Brex through Pipedream. We will accomplish that by setting up a Pipedream account, connecting Pipedream to your Brex account, creating a CSV with the cards you need to bulk create, and then emailing tha CSV to Pipedream to automatically bulk create the cards.
Steps to Install the Brex Pipedream Integration
- If you don’t already have a Pipedream account, sign up here .
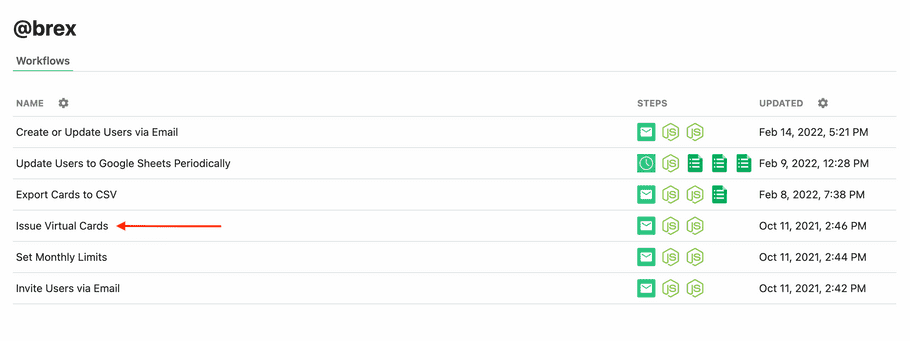
- Navigate to the Brex integration page on Pipedream, and click on the Issue Virtual Cards workflow
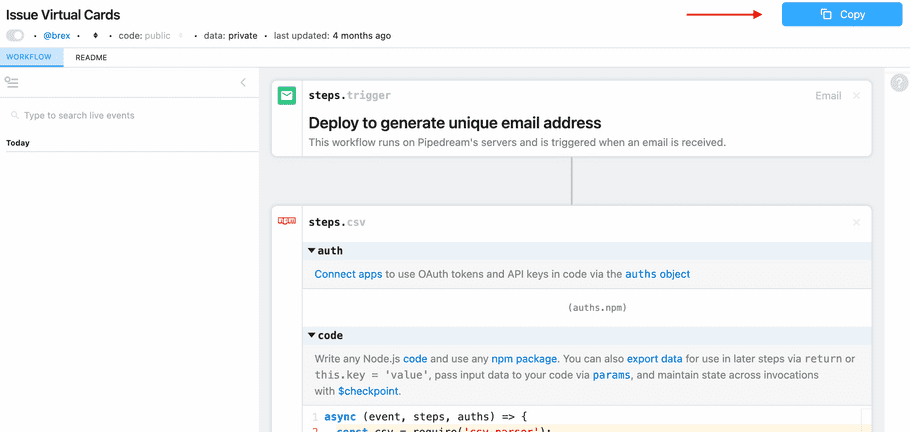
- On the top right of the page, click Copy. This will copy the Issue Virtual Cards template into your Pipedream account.
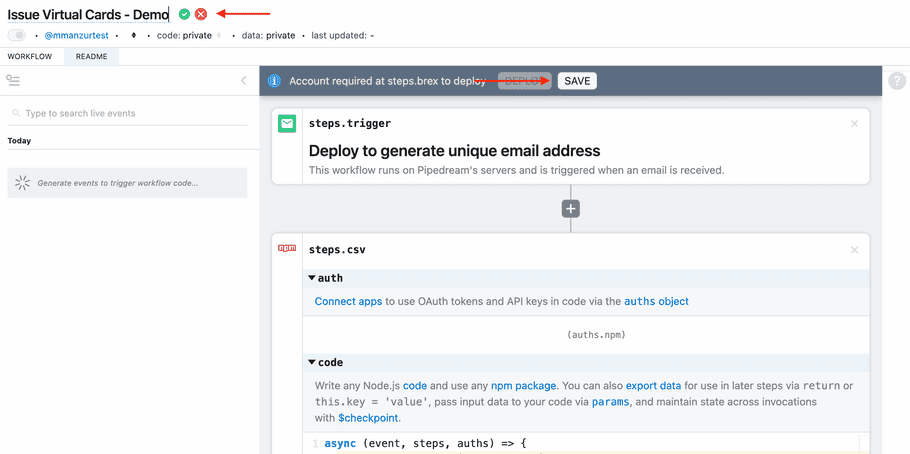
- On the top left of the next page, give your Pipedream workflow a name to help you identify it in your account. Then click Save.
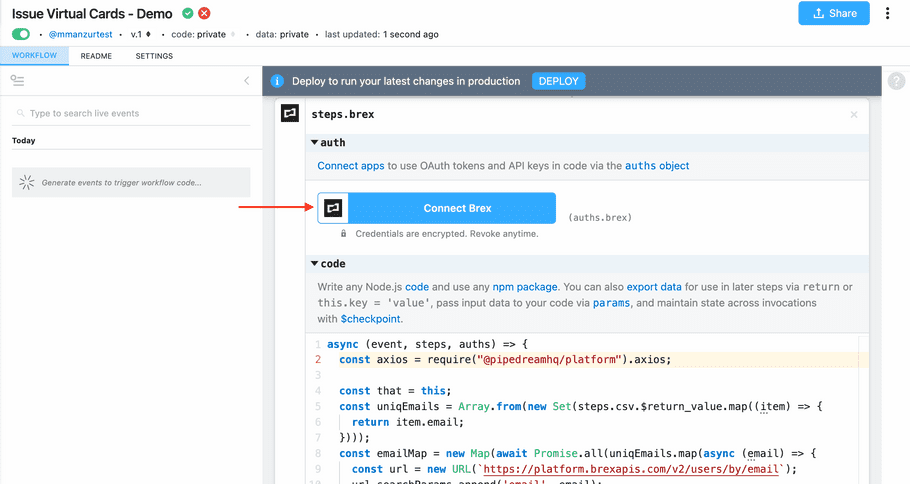
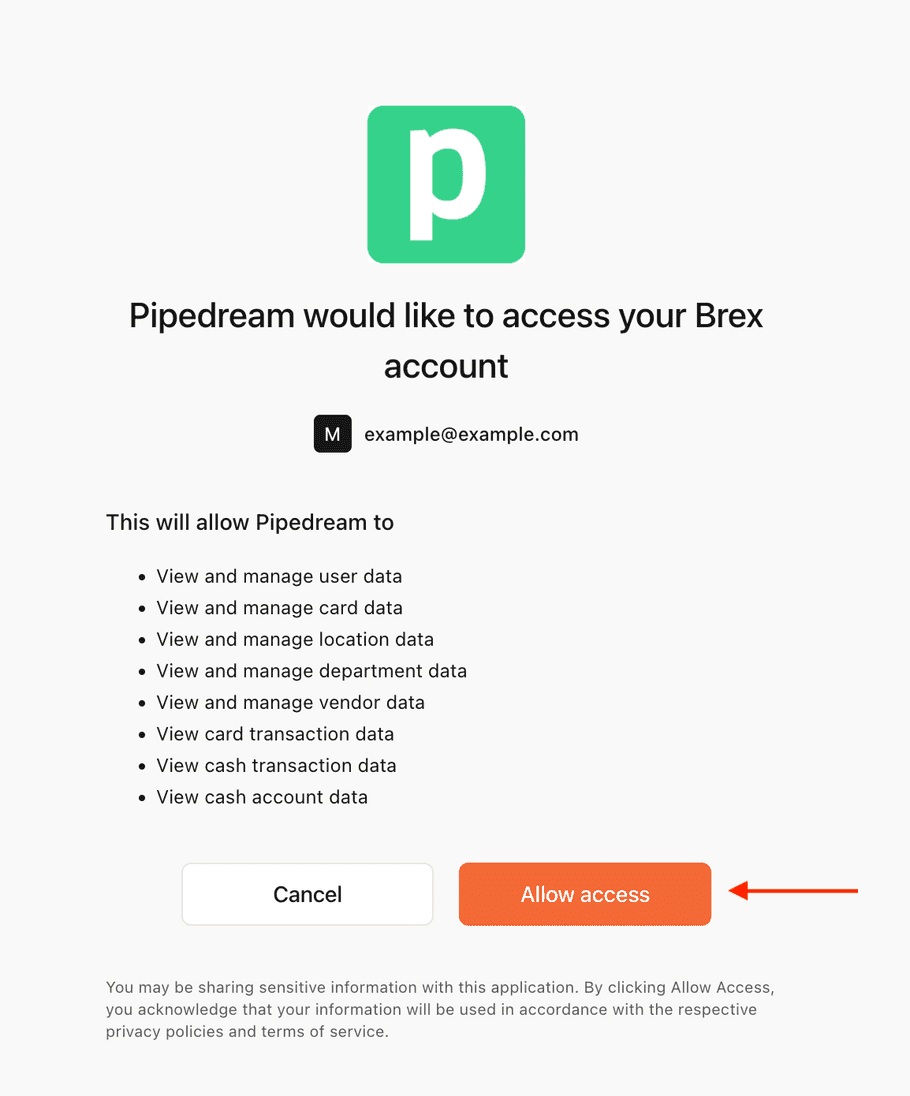
- If you haven’t connected Pipedream to Brex before, scroll down until you see the Connect Brex button. Click this button and then you will be prompted to login to your Brex account. This will give Pipedream read and write access to your Brex account to take actions on your behalf. Please review your organization’s security policy before proceeding.
- Click the Allow Access button.
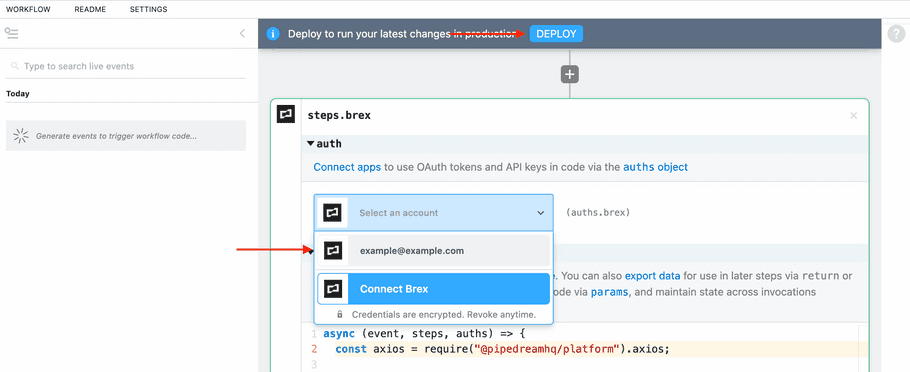
- Navigate back to your Pipedream account to the template you created. Scroll down and choose the Brex account that shows your email. Then click the Deploy button at the top.
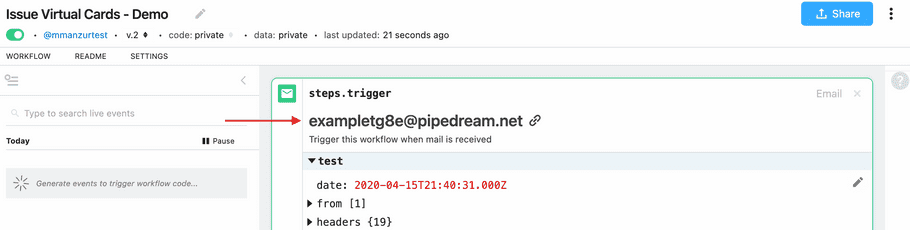
- Pipedream will now show you an email address at the top of the page. Treat this email address securely like a password. By sending a CSV to this address, anybody who uses it will be able to create cards in your Brex account. Save this email address to use in Step 10.
- In a spreadsheet tool like Excel or Google Sheets, create a CSV with the format shown in the screenshot below. The columns needed are: email, card _ name, limit, duration, reason, lock _ after _ date.
a. The email field is the email for the Brex user you want to assign the card to.
b. The card name field helps you identify the card in the Brex dashboard.
c. The limit field is the card limit and set in dollars. For example, 400 in the screenshot below represents $400.
d. The duration field has to use one of the following in the all caps format: ONE_TIME, MONTHLY, QUARTERLY, YEARLY. This lets you set either a one-time use limit for the card or set a limit for the card that renews at monthly, quarterly, or yearly cadence.
e. The reason field auto-populates the memo field for transactions. You can set this to any value you need.
f. The lock_after_date field is when the card will be automatically locked. You have to use the YYYY-MM-DD format as shown in the screenshot below.
g. You can use this CSV file as a starting template.

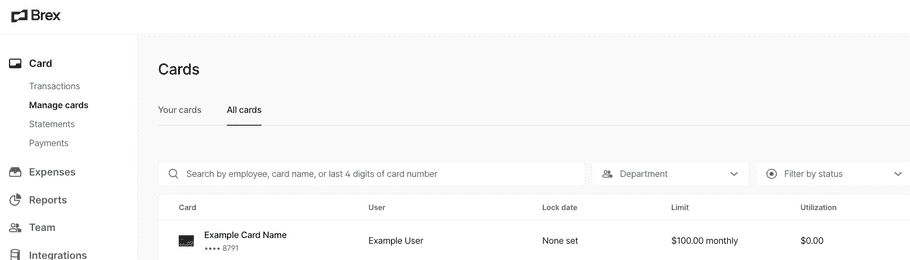
- Export this spreadsheet as a CSV. Email it to the Pipedream address from Step 8. You will not get a response from the email, but you can verify it worked by navigating to the Brex dashboard. Go to the All Cards section and search for one of the cards you expected would have been created using this workflow.
- Optionally, if you don’t need to import any more cards, toggle the workflow. This will make the Pipedream email address you created for this workflow no longer active.

Next Steps
If you don’t already have a Brex account, you can sign up for a Brex account here (subject to financial approvals). After you have a Brex account with the ability to create cards, you can set up the workflow described in this tutorial.
If you are interested in learning more about the Brex API, you can learn more in the Overview section of our API docs. If you want to get started, our Quickstart guide allows you to generate your API token and make your first API call in a few minutes.
If you have any questions about this tutorial, the Brex API, or our partner integration ecosystem, we are happy to help so please feel free to contact us.